
Vincent Neave shares practical, down-to-earth guidance on traditional woodworking and heritage crafts for readers across the UK.
- 0123456789
- Angle Bd Abdelmoumen & rue soumaya, Résidence
- [email protected]
Vincent Neave shares practical, down-to-earth guidance on traditional woodworking and heritage crafts for readers across the UK.
 By Bridget Hollis
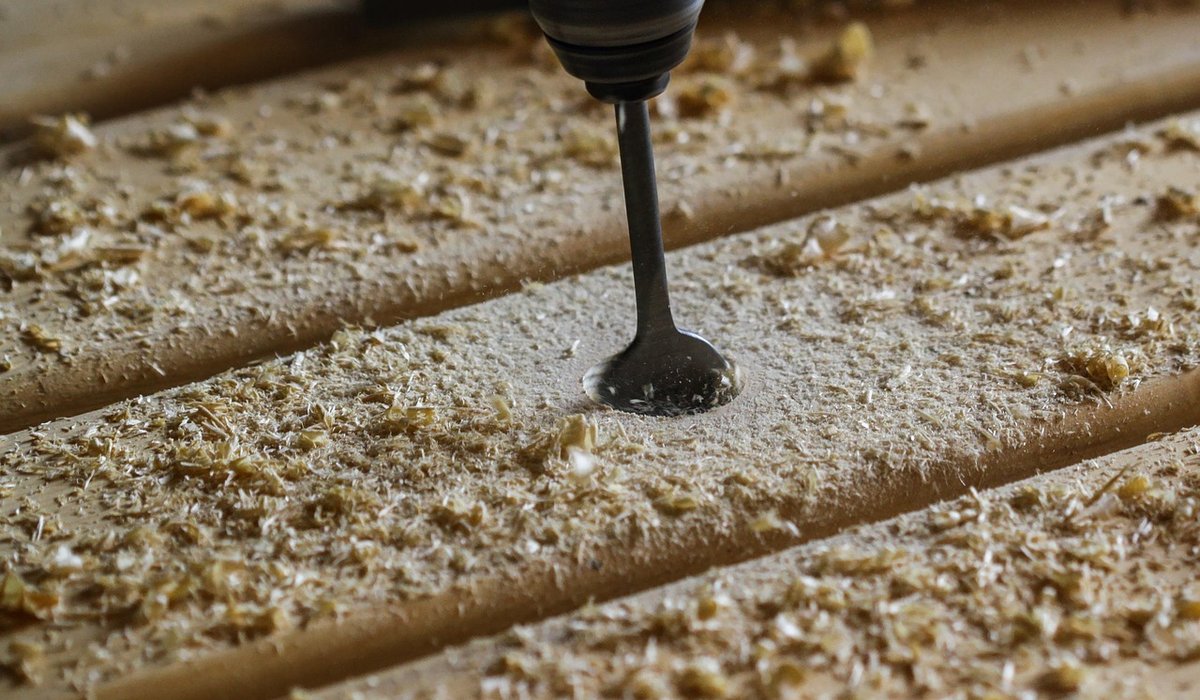
Traditional woodworking is built on joints that rely on geometry and precision, not just glue and screws. For shelving, the housing dado is one of the most reliable. It resists racking, supports heavy loads, and looks clean from the front. The method is straightforward: knife the shoulder, saw to depth, and remove waste with a router plane. But the difference between a shelf that sags and one that lasts for generations lies in the details. This article walks you through those details.
The housing dado, sometimes called a dado joint in American texts, is a groove cut across the grain of an upright. The shelf sits in that groove. Because the load transfers to the long grain of the upright, the joint is strong. It also keeps the shelf from twisting. In heritage crafts, this joint is a benchmark. A well-cut housing is snug enough to hold without glue, though a little glue adds security. The key is a fit that is tight but not forced. Too tight, and you risk splitting the upright. Too loose, and the shelf wobbles.
Accuracy begins with marking. Set your marking gauge to the exact thickness of your shelf. If the shelf is 18 mm thick, set the gauge to 18 mm. Use a cutting gauge or a marking gauge with a knife point. Pencil lines are too thick and compress the fibres, which leads to a sloppy fit.
Knife the shoulder. Place the upright on a bench hook. Hold the marking gauge against the face side and the face edge. Score a line across the grain for the first shoulder. Then repeat for the second shoulder using the same gauge setting. For a snug fit, you want those lines to be crisp. A knife wall severs fibres cleanly, so the saw and router plane can follow without wandering.
If you are cutting multiple housings, use a story stick. Mark all shoulders from the same reference face. That ensures the shelves sit level. Also mark the depth of the housing on the edges with a gauge. The depth should be one-third the thickness of the upright, or at least 6 mm for typical shelving. Never go deeper than half the thickness, or you weaken the upright.
With the shoulders knifed, saw the walls of the housing. Use a tenon saw or a carcase saw with fine teeth. For cross-grain cuts, a saw with 12 to 14 points per inch works well. Start the saw in the knife wall. Keep the saw plate vertical. Saw down to the depth line, but not past it. A common mistake is to saw too deep, which weakens the upright and makes the housing bottom uneven.
To avoid tearout on the back edge, clamp a scrap piece of wood against the exit side. Or score the back edge with a knife. Saw with light pressure. Let the saw do the work. If the saw wanders, stop and correct. You can also use a bench hook to hold the work. For wide shelves, you might need to saw from both edges and meet in the middle.
The router plane is the traditional tool for cleaning out the housing. Set the blade to a fine cut, perhaps 0.2 mm. Work from one end to the other, then back. Take light passes. The router plane's flat sole registers on the upright's face, so the bottom of the housing stays parallel. If you do not have a router plane, a sharp chisel and a mallet can work, but the router plane gives a superior finish.
For narrow housings, a chisel is useful for the ends. Use a chisel the same width as the housing, or slightly narrower. Pare from the shoulder towards the centre. Avoid levering, which crushes fibres. Check the depth with a straightedge or the shelf itself. The shelf should slide in with light pressure. If it is too tight, pare a little more from the walls or the bottom. If too loose, you can glue a shim, but it is better to start snug.
Test the fit. The shelf should go in with hand pressure, not a mallet. If it binds, find the high spot. Rub chalk on the housing walls or use a pencil. The chalk transfers to the tight spot. Pare that area. For a truly snug fit, you want to hear a slight hiss as air escapes. That is the sound of a well-cut housing.
Remember grain direction. The shelf's end grain should not be forced. If the shelf is slightly cupped, orient the cup upwards. That way the weight of books will flatten it over time. For heritage crafts, this attention to detail is what separates a lasting piece from a temporary fix.
Cutting a perfect housing dado is not about speed. It is about patience, sharp tools, and respect for the material. Every knife line, every saw stroke, and every pass of the router plane is a conversation with the wood. When you get it right, the shelf clicks into place with a quiet satisfaction. That shelf will hold your books, your tools, or your memories. And it will hold them for a very long time. So take your time. Knife the shoulder. Saw to depth. Remove the waste carefully. Your shelves, and the craft, will thank you.


We are not gonna make spamming
