
Vincent Neave shares practical, down-to-earth guidance on traditional woodworking and heritage crafts for readers across the UK.
- 0123456789
- Angle Bd Abdelmoumen & rue soumaya, Résidence
- [email protected]
Vincent Neave shares practical, down-to-earth guidance on traditional woodworking and heritage crafts for readers across the UK.
 By Bridget Hollis
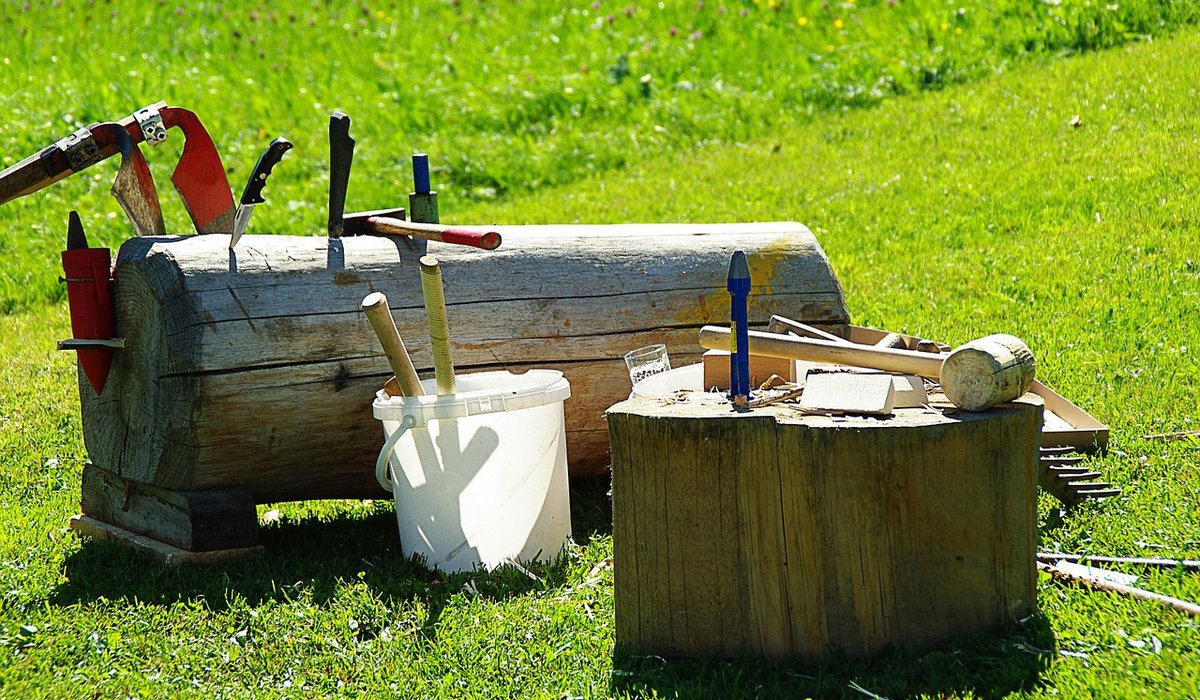
The dovetail is the joint that tells you, at a glance, whether a piece of furniture was made with care. Its interlocking wedge shape is brilliantly simple: the tails resist being pulled straight out, the pins lock them in place, and the whole thing holds together with nothing but glue and geometry. No screws, no dowels, no metal fixings quietly rusting under a veneer.
It is also, for many woodworkers, the first joint that genuinely frightens them. That is a shame, because dovetails are far more forgiving than the magazines suggest. Your first set will be gappy. Your fifth will be respectable. By the tenth, you will be cutting them in twenty minutes and wondering what all the fuss was about. Everything below assumes you are working at a bench, with sharp tools, on a piece of timber you have planed flat and square. Take your time.
You do not need a workshop full of kit. A modest, well-tuned set will do more for your dovetails than any expensive gadget.
For timber, choose a straight-grained hardwood such as sycamore, cherry or ash. Avoid knots, short grain and highly figured boards for your first few joints. Softwoods work perfectly well but bruise more easily, so keep your chisels especially sharp if you are practising on pine.
Decide your angle first. A ratio of 1:6 suits softwoods, while 1:7 or 1:8 is the traditional choice for hardwoods, giving a slightly finer look. Set your sliding bevel once and resist the urge to fiddle with it later.
Mark the baseline all the way round the tail board with the marking gauge, set to a hair more than the thickness of the pin board. This tiny allowance lets the joint close without the shoulders bottoming out. Then divide the width into tails and pins. For a drawer side around 100mm wide, three or four tails gives a pleasing proportion — roughly equal tails separated by slightly narrower pins. Mark with the knife, then darken the lines with pencil so you can see them against the grain.
Clamp the tail board in the vice at a comfortable height — around elbow level, with the waste overhanging. Start the saw on the far corner with two or three light, drawing strokes to establish a kerf, then lengthen your stroke and let the saw do the work.
You are aiming for two kinds of straightness at once: vertical in both planes, and square to the face. Check by sighting down the saw plate as you go. Cut on the waste side of the line, leaving the knife mark intact, and stop when the saw reaches the baseline — do not saw past it into the shoulder. Repeat for each tail, then use a coping saw to remove the bulk of the waste between them, staying a millimetre or so clear of the line.
Chopping is where neat dovetails are really made. Rest the tail board flat on a sacrificial backing board so the fibres are supported, seat your chisel vertically in the knife line, and tap gently. Work from both faces: chop halfway through from the front, turn the board, and chop from the back. Meeting in the middle almost eliminates breakout.
Once the bulk is out, pare back to the baseline. Lay the flat back of the chisel against the face you have already cut, and take fine shavings until the end grain is clean and the line is crisp. Test the far side with your thumb — if you can feel a lump, take another shaving. A dull chisel will push the grain instead of slicing it, and no amount of care will save you.
Stand the tail board upright on the end of the pin board, hold it steady with a clamp or a holdfast, and transfer the shape with your marking knife held tight against the tail. Take your time here; every error is doubled.
Cut and chop the pins as before, then dry-fit. It should go together with firm hand pressure and a few taps of the mallet on a scrap caul — never force it. If it binds, find the tight spot with a pencil mark, and pare or file it away in tiny increments. Glue only the long grain surfaces, never the end grain, or the joint will starve and rattle loose later. Tap it home, check the diagonals are equal, and leave it clamped square on a flat surface overnight.


We are not gonna make spamming
